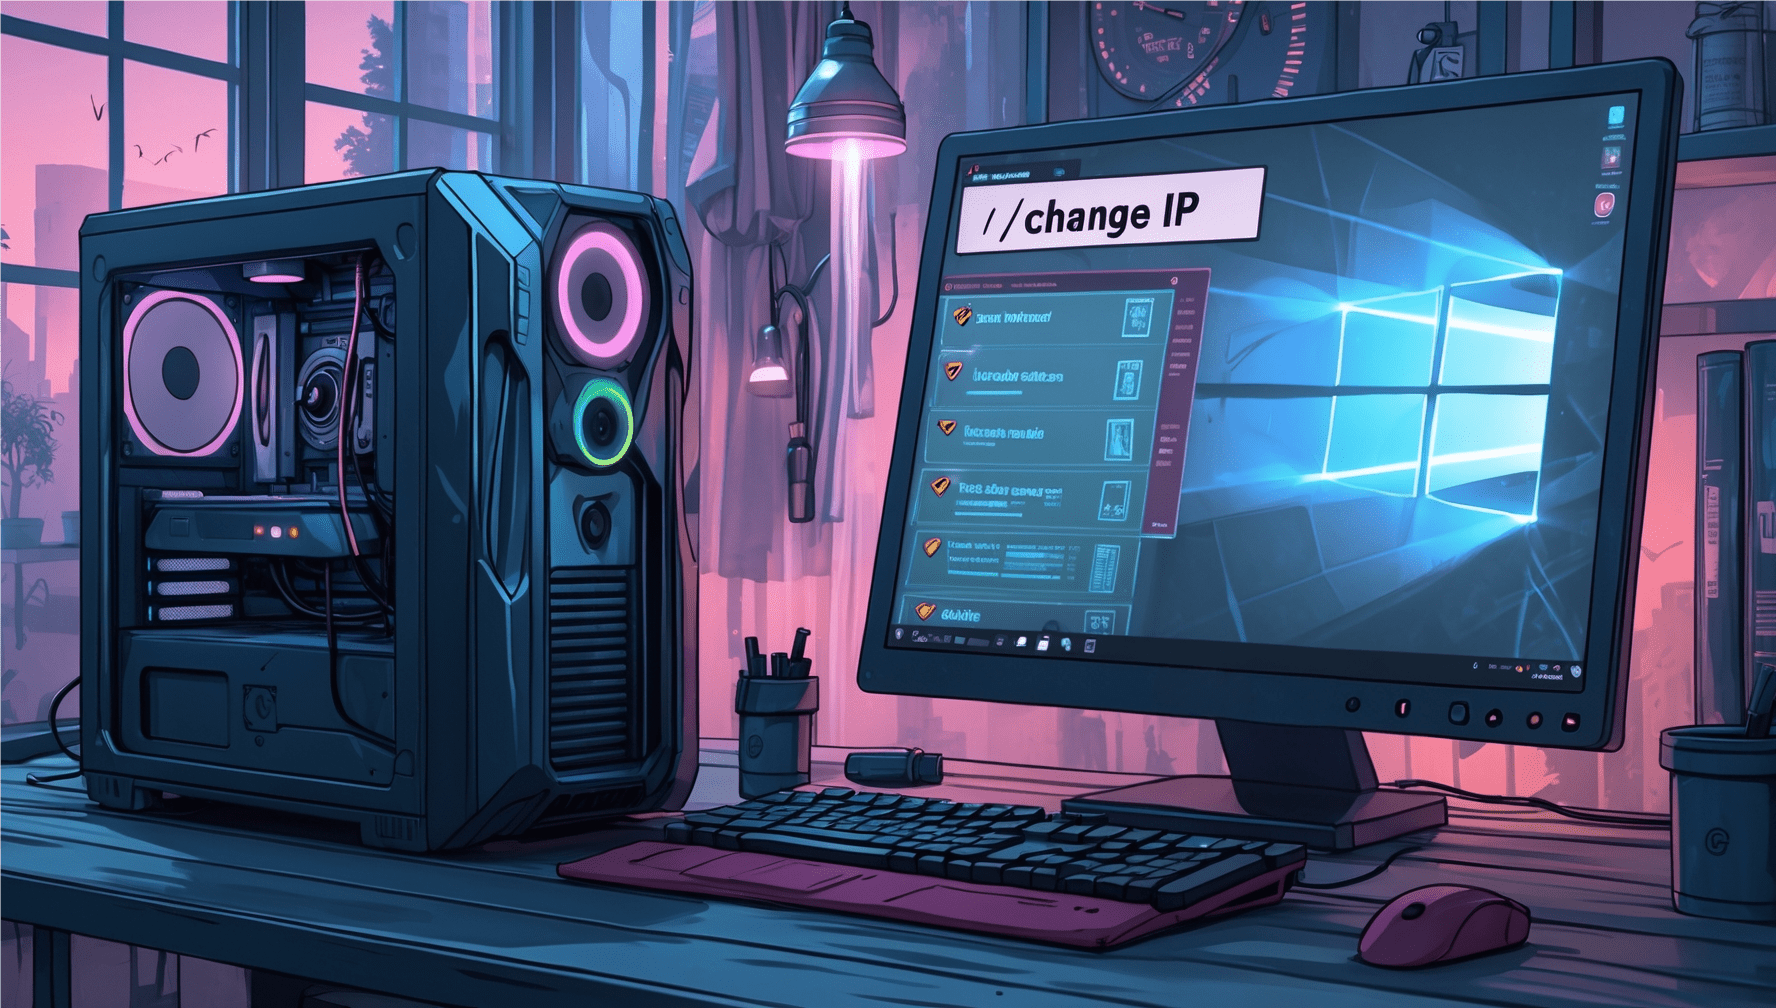

If you’re wondering how to change IP address in Windows 10, you’re in the right place. Whether you’re troubleshooting a network issue, trying to increase your online privacy, or accessing region-based content, knowing how to switch your IP can be incredibly useful.
We’re going to walk you through what an IP address actually does, why you might want to change it, and exactly how to do that on a Windows 10 machine. No tech background needed — if you can follow a recipe, you’ll handle this just fine.
What Is an IP Address and Why Change It?
An IP address is basically your device’s name tag on the internet — it tells websites and apps where to send the information you’re asking for, kind of like how a return address works on a letter.
If you’re curious about what’s currently assigned to your device, check out our article on How to Find Your IP Address. It’s a quick way to see both public and private IPs in seconds.
Imagine you’re sending a letter — the IP is your return address. By changing it, you essentially send the next “letter” from a different place. That might be helpful if you’re dealing with location restrictions, slowdowns, or just want to browse without being tracked.
How to Change IP Address in Windows 10 Automatically
The quickest way to get a new IP address is to let your router do the work.
Restarting your router often forces your internet service provider (ISP) to assign a new IP address — assuming you’re using a dynamic IP, which most people are. It’s one of the simplest ways to change IP address in Windows 10 without diving into system settings or command lines.
Steps:
- Turn off your computer.
- Unplug your router and modem.
- Wait at least 5 minutes.
- Plug everything back in and restart your PC.
FYI: This method usually works if your internet provider gives you a dynamic IP. Still seeing the same address after a reboot? Don’t stress — some providers recycle IPs quickly, so it might take a couple of tries.
Changing Your IP in Windows 10 Through Settings
If you’d rather take the reins yourself, you can enter a new IP manually through Windows settings. This option is especially useful if you’re configuring a static IP — something often needed for things like gaming setups or remote desktop access.
Let me know if you’d like it even more casual or slightly more technical.
Steps:
- Go to Settings > Network & Internet > Status.
- Click Change adapter options.
- Right-click your network connection and select Properties.
- Select Internet Protocol Version 4 (TCP/IPv4), then click Properties.
- Choose Use the following IP address.
- Enter the new IP address, Subnet mask, and Default gateway.
Pro Tip: If you’re unsure what numbers to use, copy the ones under your current connection (from
ipconfig) and change only the last digits of the IP.
Ever needed to track down a specific device on your network? Our guide on How to Find a Device by IP Address walks you through it — from simple tools to more advanced methods.
How to Change IP Address Using Command Prompt
Using Command Prompt gives you direct control and is surprisingly straightforward.
You can release your current IP and ask Windows for a new one — a quick method to change IP address in Windows 10 that works best with dynamic IP addresses.
Steps:
- Open Command Prompt as Administrator.
- Type:
ipconfig /release
ipconfig /renew- Hit Enter after each line.
This command tells Windows to drop the current IP and request a new one from the network.
How to Set a Static IP Address in Windows 10
Sometimes, you want your IP to stay the same — for example, when hosting a server or using port forwarding.
Setting a static IP address in Windows 10 is a little more involved but gives you consistent control.
Steps:
- Go to Control Panel > Network and Sharing Center.
- Click your connection > Properties.
- Select Internet Protocol Version 4 (TCP/IPv4).
- Choose Use the following IP address.
- Enter a static IP, subnet, and gateway.
FYI: Make sure the IP you choose is within your router’s range and not in use by another device.
Tips to Avoid IP Conflicts and Errors
Changing your IP isn’t always smooth — here are a few tips to keep it glitch-free.
- Avoid duplicate IPs: Don’t pick a static IP already used by another device.
- Restart your network: After changes, reboot your router and PC.
- Update DNS settings: If a site won’t load, try switching DNS to Google’s (8.8.8.8).
Pro Tip: Use
ipconfig /allto view all current settings if something isn’t working.
Conclusion
Learning how to maintain an IP address gives you more control over how you connect, surf, and interact online. Knowing when and how to change IP address in Windows 10 can make a real difference in how effectively you manage your digital presence. Whether you want a new dynamic IP or prefer the consistency of a static one, the steps are simple once you know where to look.
Need to switch things up while you’re on the go? We also show you How to Hide IP Address on Mobile Phone — a must-read if you’re using public Wi-Fi or simply want a bit more privacy while browsing.
Try out the different methods and see what works best for your setup. With a bit of practice, changing your IP will feel like just another tool in your privacy toolkit.
Frequently Asked Questions
Does changing my IP affect my internet speed?
Not usually, but switching servers or networks might change routing slightly.
Is it safe to change my IP address?
Yes, as long as you know what you're doing. Stick to your network's valid IP range.
Can I get a new IP without restarting my router?
Yes — try the Command Prompt method or assign a manual static IP.
Will changing my IP help me stay private?
It helps, but it’s not enough by itself. Combine it with tools like firewalls and private browsers.
What’s the difference between static and dynamic IPs?
Dynamic IPs change automatically. Static ones stay the same until you change them manually.